🚀 Proxmox VE 9: The Next-Gen Open-Source Virtualization Platform
🆕 What’s New in Proxmox VE 9
Proxmox VE 9 builds on its predecessors with major upgrades to performance, storage flexibility, networking capabilities, and high-availability options. Here’s what you can expect:
📌 Modernized Software Foundation
-
Based on Debian 13 “Trixie” with the Linux 6.14+ kernel, giving better hardware support and security.
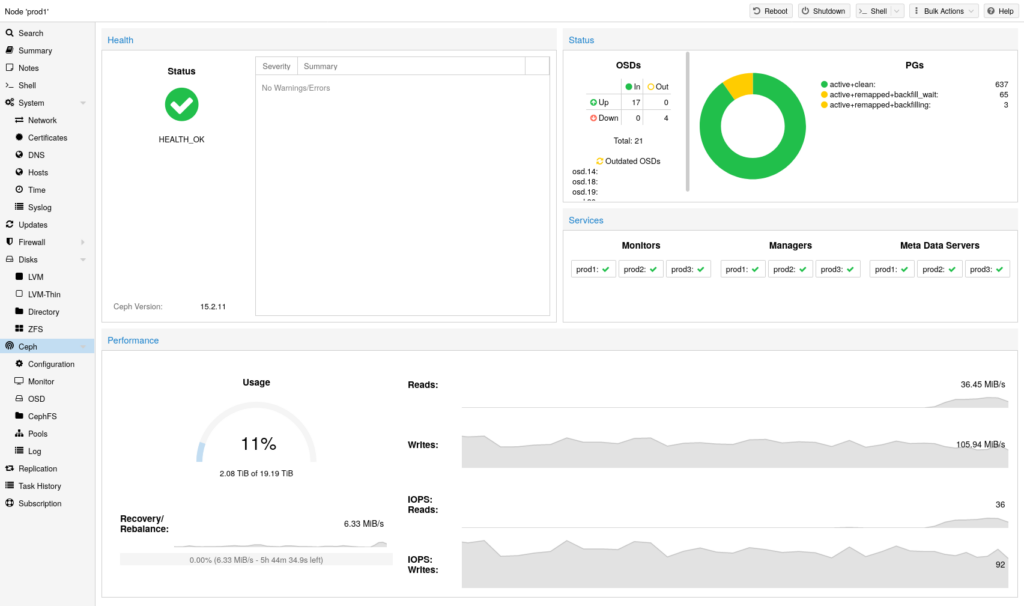
💾 Smarter Storage Capabilities
-
Snapshots for thick-provisioned LVM storage now supported — this improves SAN workflows like iSCSI and Fibre Channel.
🌐 Advanced SDN (Software-Defined Networking)
-
The “Fabrics” feature lets you build complex network topologies, such as spine-leaf designs, with ease.
🤝 Better High Availability (HA)
-
New HA affinity rules give more control over where VMs run within a cluster — ideal for production environments.
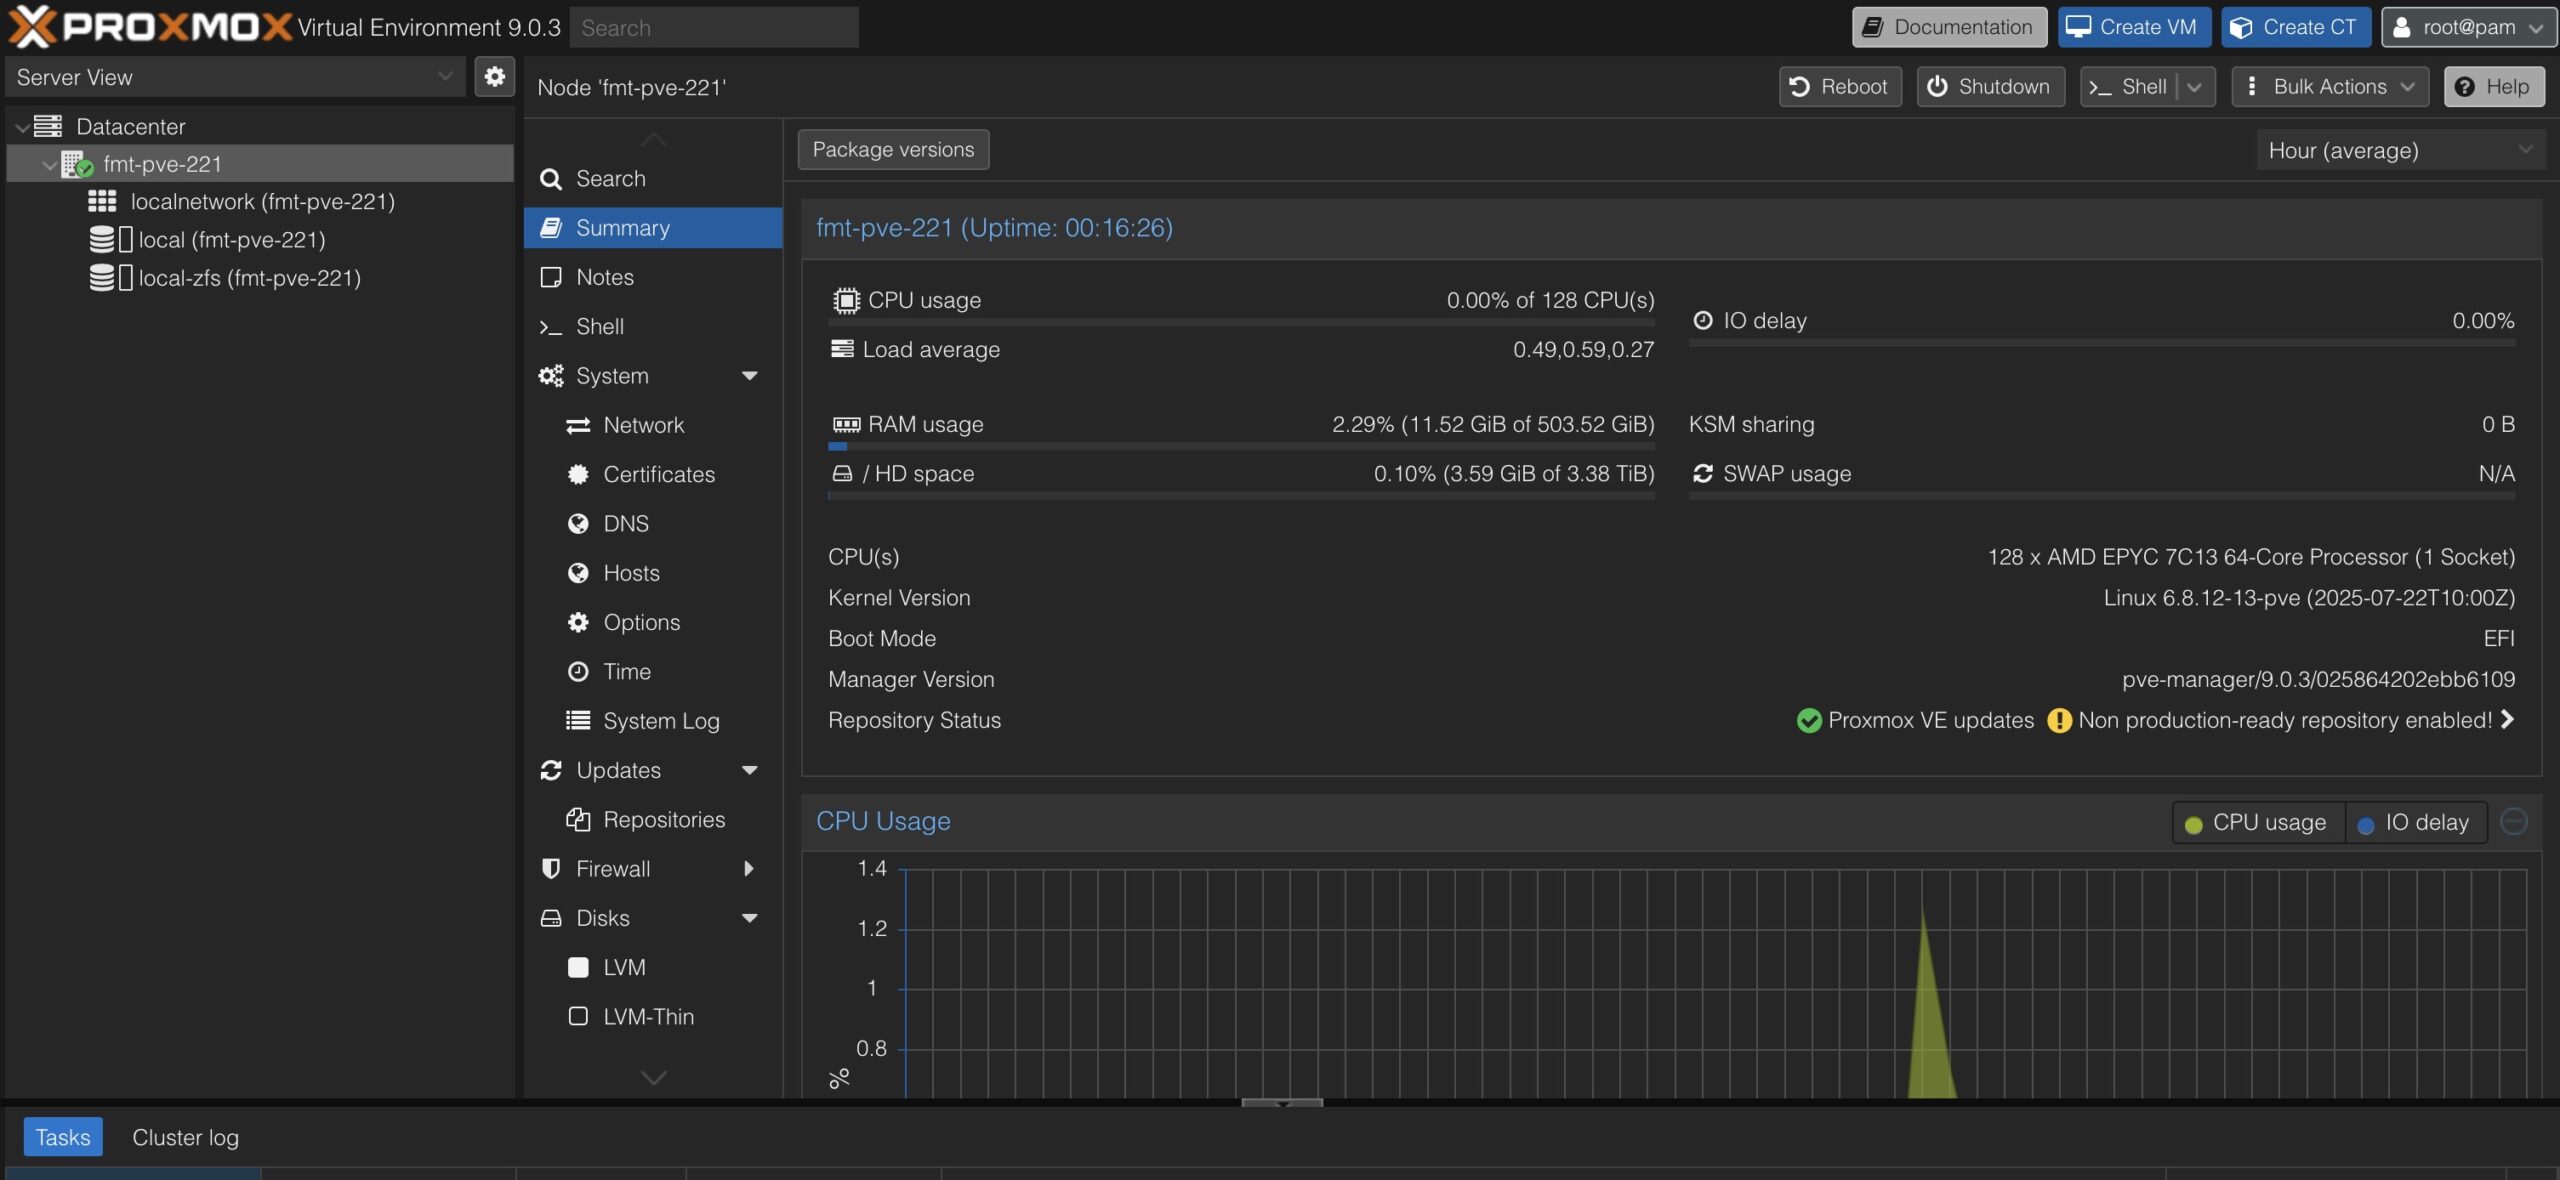
📊 Enhanced Metrics & UI
-
A refreshed mobile-friendly interface built with Rust + Yew improves browser usability.
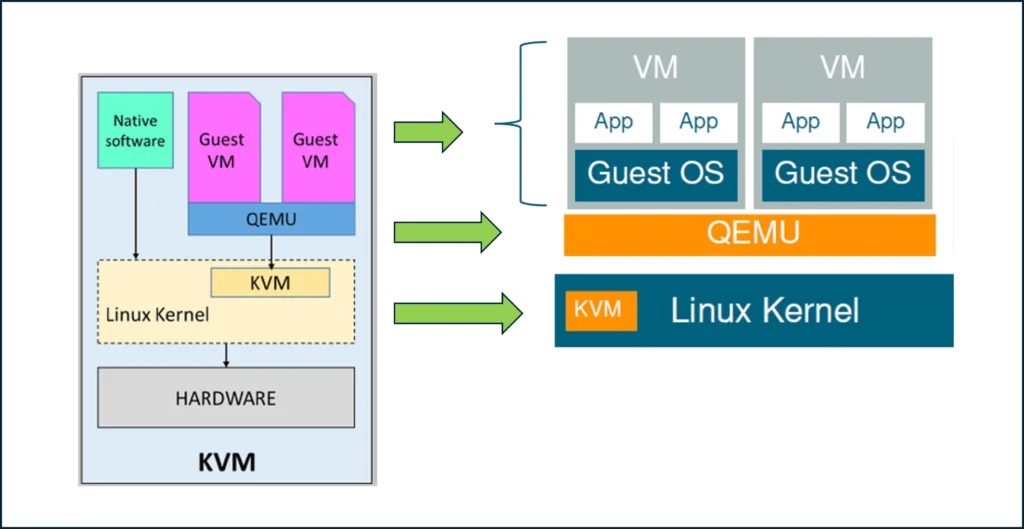
⚡ Updated Virtualization Stack
-
Latest versions of QEMU, LXC, ZFS, and Ceph Squid deliver better performance, snapshot flexibility, and container/containerization improvements

🛠️ How to Install Proxmox VE 9
Installing Proxmox VE 9 is straightforward. Whether it’s a bare-metal server or nested inside a test VM, the official installer walks you through the basics.
📥 Step 1: Download the ISO
Head to the official Proxmox downloads page and get the latest Proxmox VE 9 ISO image.
💽 Step 2: Create Installation Media
Use a tool like Rufus (Windows) or balenaEtcher (cross-platform) to write the ISO to a USB stick.
⚙️ Step 3: Boot & Install
-
Boot the server from the USB stick.
-
Select Install Proxmox VE.
-
Accept the EULA.
-
Choose the installation disk (ZFS is a great choice for redundancy).
-
Configure time zone, root password, and email.
-
Set a static IP address for the Proxmox management interface.
After installation, your system will reboot into the Proxmox console.
🌐 Step 4: Access the Web UI
Open your browser and go to:
https://<your-proxmox-ip>:8006
Login as root with the password you set during installation.
🧠 Tips After Installation
🔹 Update the System: Always update packages with apt update && apt dist-upgrade after installation.
🔹 Configure Storage: Add and configure ZFS, LVM-thin, or Ceph for your preferred storage type.
🔹 Networking: Set up bridges or VLANs depending on your VM/container needs.
🔹 Backup Strategy: Integrate Proxmox Backup Server (PBS) for incremental backups and fast restores.
📈 Why Choose Proxmox VE 9?
Proxmox isn’t just a hypervisor — it’s a whole virtualization ecosystem. Whether you’re juggling VMs, containers, SDN, or HA clusters, Proxmox offers flexibility without vendor lock-in. With VE 9, you get:
-
Open-source freedom
-
Enterprise-grade capabilities
-
A friendly web GUI
-
Powerful community support